To create a multimedia guide sounds like a big job. Visitors expect photos, text and audio on their own phones. Sometimes they also want video or a game. With infotainment.guide you get all of that as a web app: a PWA that opens in the browser without a download. Anyone who only wants to listen simply uses the same app as an audio guide. But where do you start as a museum? That is why backstage, the admin side of infotainment.guide, now has Guided setup. This onboarding takes you in eleven steps from an empty museum to a working app. In this article, you'll read how it works and what you do at each step.
Why people who create a multimedia guide get stuck
Most museums already have the stories. They sit in catalogues, on wall labels and in the heads of the guides. The hard part is turning them into an app. A multimedia guide has tours, stops, languages, photos, audio and sometimes video. Even a simple audio guide already needs tours, stops and languages. All of those parts depend on each other. For example, without a language you can't fill in a title. And without stops there is nothing to open.
So anyone who wants to build their own multimedia guide soon gets lost in tabs and buttons. A manual helps, but then you read on one screen while you work on the other. Moreover, that takes time a museum team rarely has. Therefore, we chose to put the help right where you work.
Guided setup: a checklist that ticks itself off
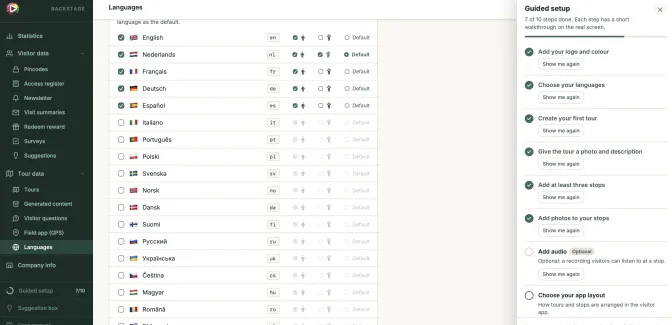
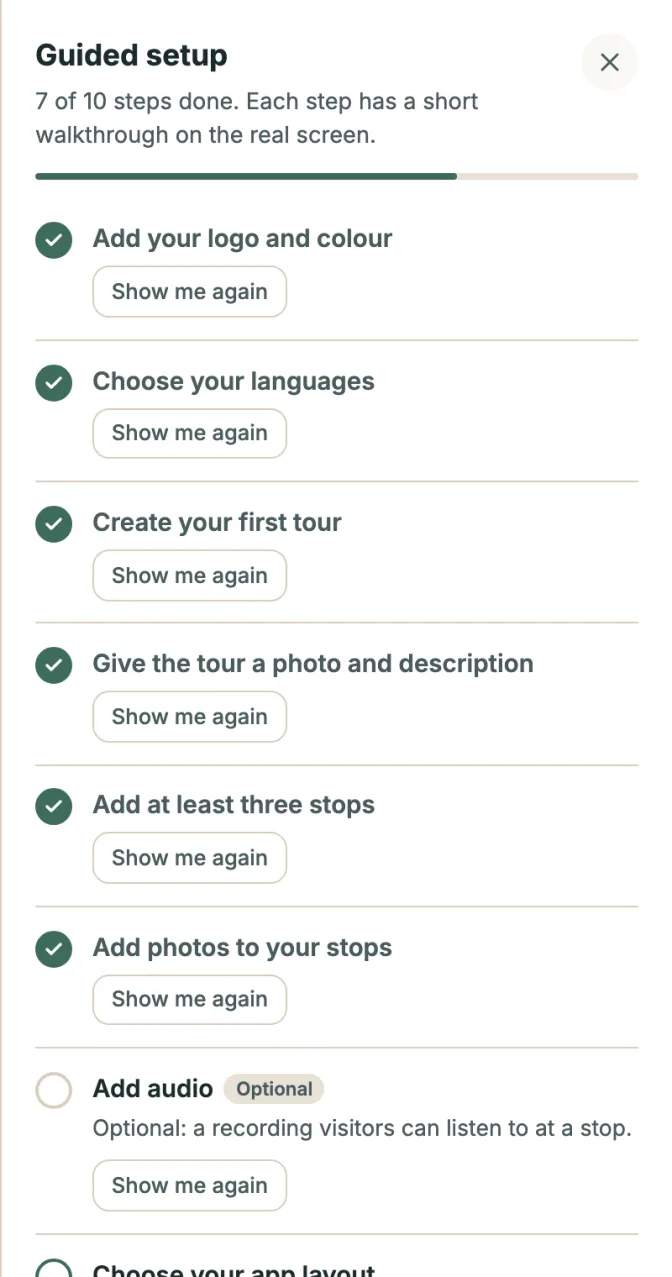
At the bottom of the backstage menu you now find the Guided setup button. A small ring next to it shows how far you are, for example 4 of 10. Click it and a checklist slides open with all the steps in a row. As an admin, you also see that list by itself the first time you sign in.
The nice part is that you don't tick anything off yourself. Instead, the list looks at what is really in your museum. Do you already have a logo? Then there is a tick. Add a third stop and the next tick follows. So the list is always right, even when a colleague does part of the work.
Show me: help on the real screen
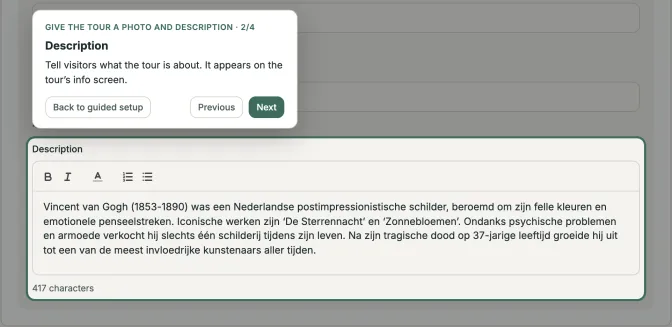
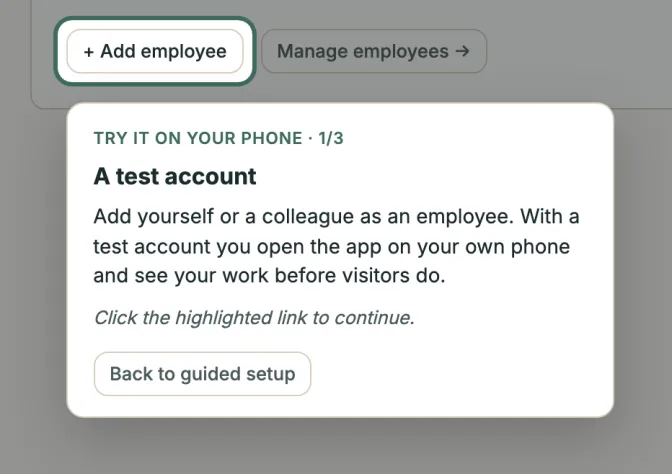
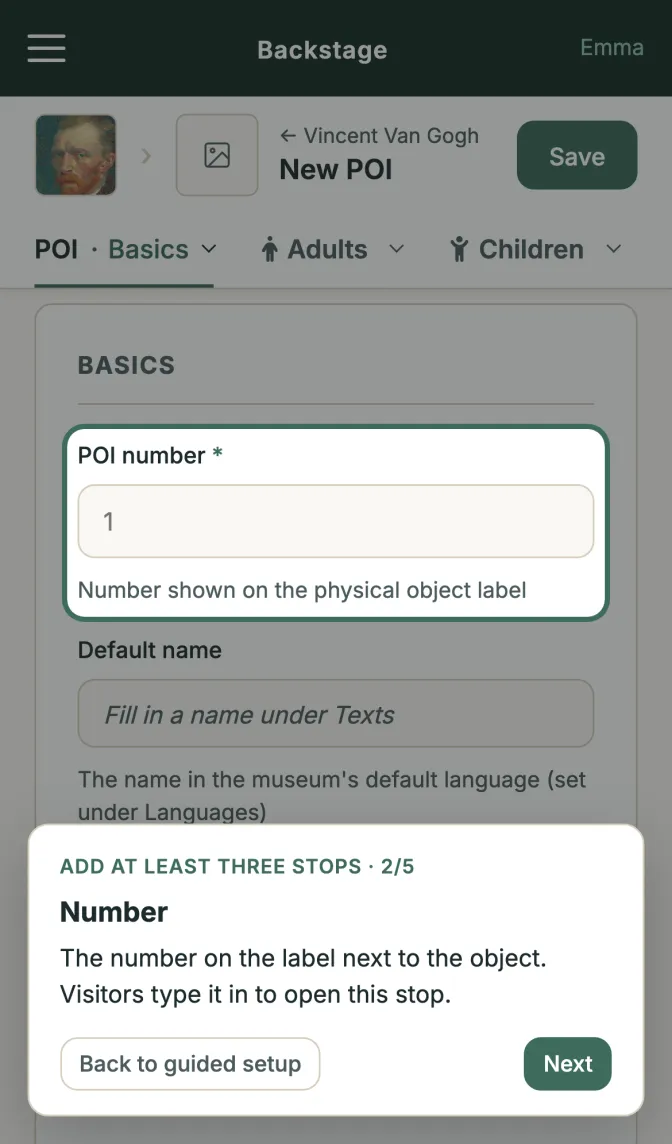
Every step has a Show me button. It starts a short walkthrough of the software. The screen turns a little darker and exactly one field or button lights up. Next to it, a small card explains it in a few sentences. With Next and Previous you move through the steps. If the field sits on another tab, the walkthrough opens that tab for you.
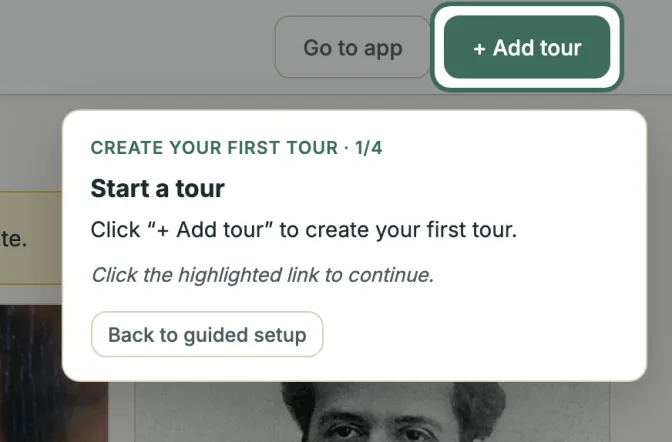
Some steps end with a button such as + Add tour or Save. In that case, the card asks you to click it yourself. After you save, the walkthrough carries on on the next page. In short, you learn the software by really using it. Done, or no time right now? Back to guided setup takes you straight back to the checklist.
Eleven steps to build your own multimedia guide
The checklist follows the order that makes sense when you want to create a multimedia guide:
- Logo and colour: your house style in the app.
- Languages: which languages visitors can pick, for adults or for children.
- First tour: a route through your museum with a title and a short tagline.
- Photo and description: what visitors see before they start.
- Three stops: each object gets a number, a name and a text.
- Photos for the stops: so visitors can spot the object.
- Audio: a recording for each stop, for when you also use the app as an audio guide. This step is optional.
- App layout: how tours and stops look in the app.
- Try it on your phone: with a test account.
- Publish: so that visitors who use the app offline also get your latest version.
- QR labels: a printable label for each stop.
You don't have to follow that order strictly. Would you rather enter all the stops first and pick a logo later? That's fine. Two steps leave no trace in the data: the app layout and the QR labels. The list ticks them off as soon as you save or download a label. You can also tick them off yourself with Mark as done. For more on the layout, read how to customise your museum app layout.
Test on your own phone first
A digital museum guide is for people who walk around with a phone in their hand. So check it on a phone yourself before visitors do. In the step Try it on your phone you set up a test account. With it you open the app and see everything exactly as a visitor does. Test visits don't count in the statistics and they cost nothing. The account works until one hour after your last change, so it never ends up with visitors.
During that test, also look at the length of your texts and recordings. Short stories hold visitors for longer, also when they use the app as an audio guide. Read more about that in the ideal length of audio stories.
Who is this onboarding for?
Guided setup is there for anyone who runs a museum in backstage. It helps most at the start, but it stays useful later on too. Does a new colleague join the team? Then they open the checklist and replay any walkthrough. Moreover, the whole team shares one list, because the ticks belong to the museum and not to a person. Do you mainly want an audio guide? Then you follow the same steps, with the focus on the Audio step.
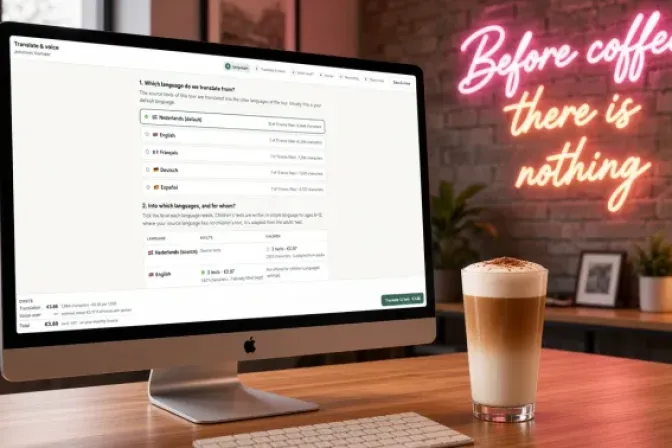
The onboarding does nothing for you. It points and explains, but you type and save everything yourself. It never starts paid features such as translation or voice recordings. That way, you stay in control while you create a multimedia guide.
A PWA: works on tablets and phones
Backstage runs in the browser, also on a tablet or phone. There, the card sits at the bottom of the screen, so the field itself stays in view. That's handy when, for example, you check the number of an object in the gallery. The visitor app is a PWA as well, a progressive web app. Visitors scan a QR code and the tour opens in the browser, without a download from an app store. Because it is a web app, everyone sees your changes right away. Visitors can also add the PWA to their home screen and use it offline. So the same app works as a multimedia guide or as an audio guide. Why we chose a PWA, you can read in when to choose a PWA and when a dedicated app.
Try it: create a multimedia guide in the demo
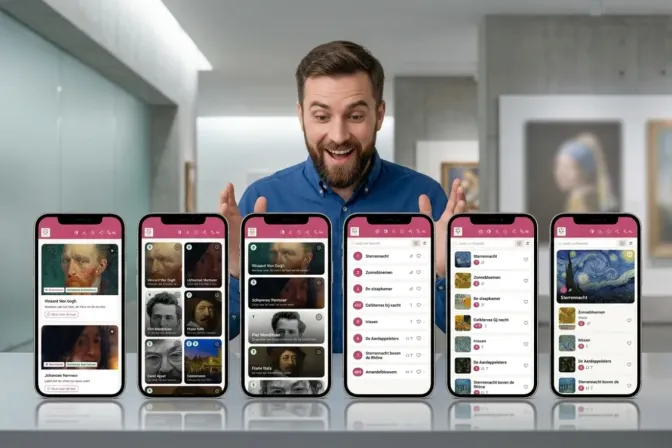
Would you like to see a finished museum app first? Then open the DutchART demo museum on your phone; the web app starts right away. On the museum app page you can read what else infotainment.guide can do. For more on writing the stories themselves, read how to make an audio tour. Or see how to create an audio tour with infotainment.guide. Do you have questions about how to create a multimedia guide for your museum? and we'll gladly think along with you.
Updated on
Stay up to date
Every now and then, the news from GuideXpresse in a single email: museum guides, tour guide systems, software, service and voice-overs. Short and no more often than needed.
 References